Backups
Backblaze Setup
A guide to setup Backblaze and get your keys
Setup
A guide to setup the backblaze and get your keys
Create a Bucket
Before you begin: You must enable a Backblaze B2 account.
- Sign in to the Backblaze web console.
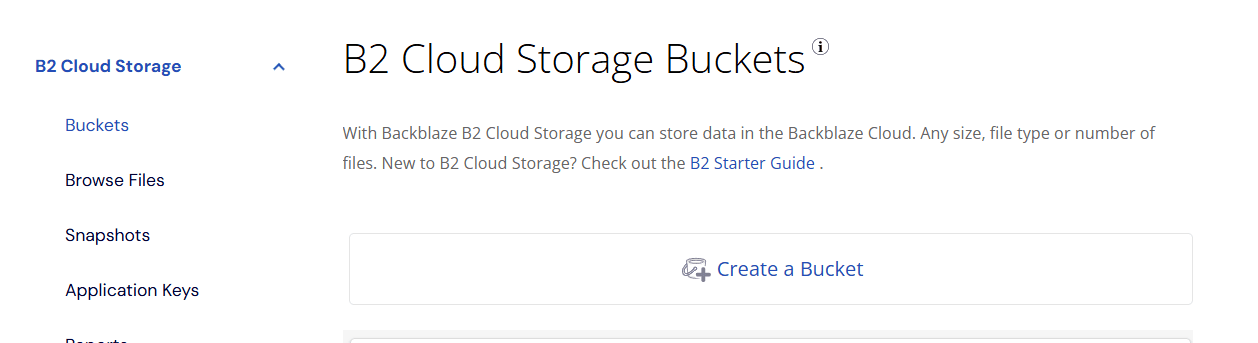
- In the left navigation menu under B2 Cloud Storage, click Buckets.
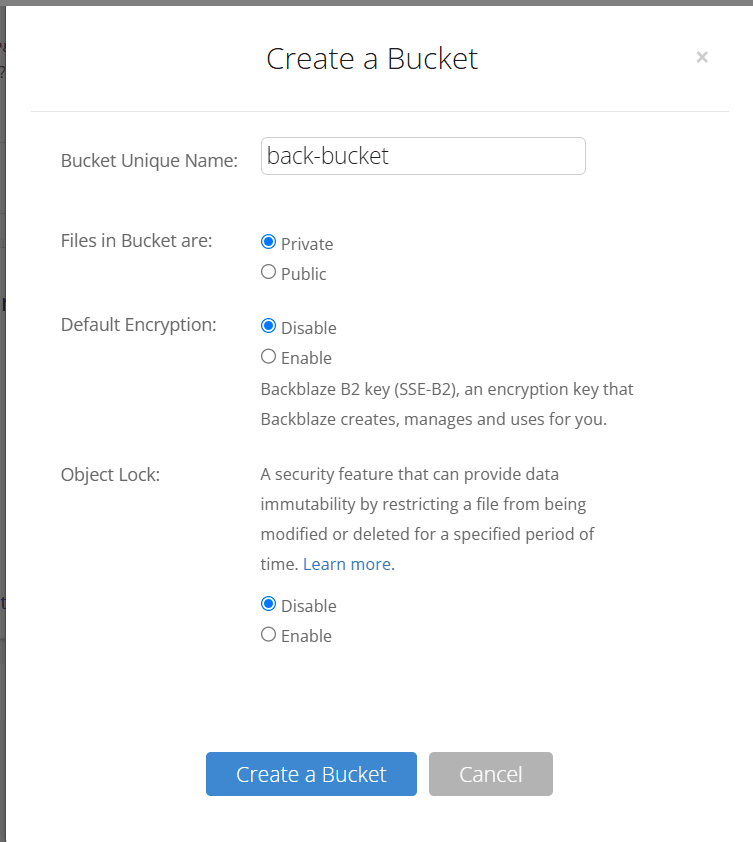
- Click Create a Bucket.
- Enter a name for your bucket. Bucket names must be at least six characters and globally unique.
- A message is displayed if your bucket name is already in use.
- Select a privacy setting: Private or Public.
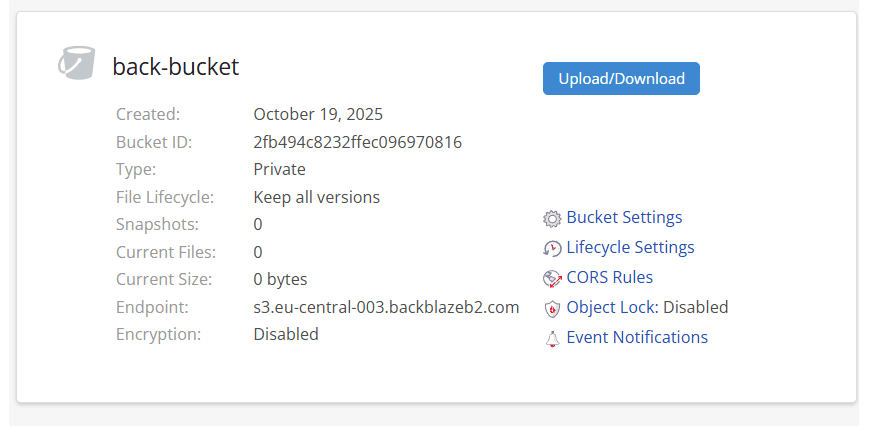
Here you can see the:
This is S3-compatible endpoint
EndPoint: s3.eu-central-003.backblazeb2.com
Region: eu-central-003
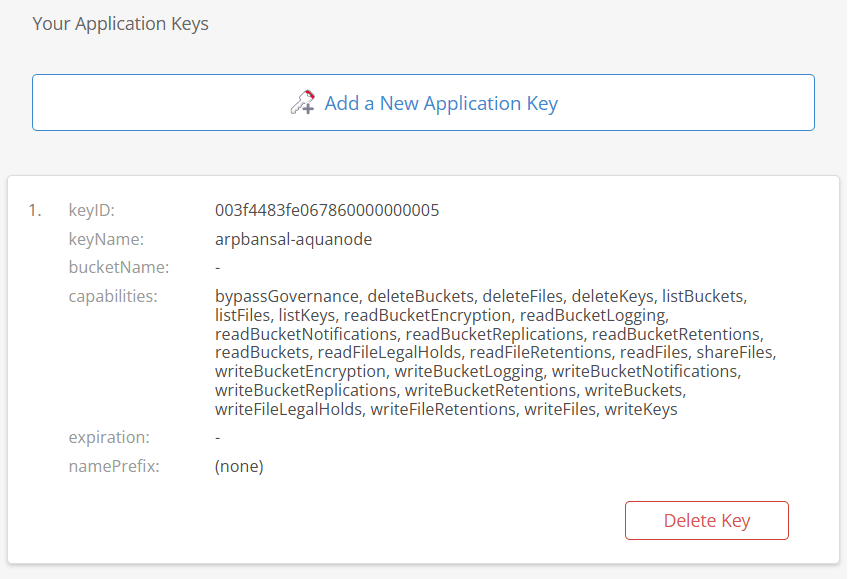
Create Application keys
- Sign in to the Backblaze web console.
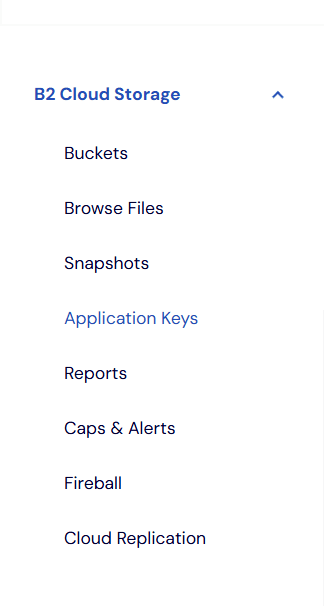
- In the left navigation menu under B2 Cloud Storage, click Application Keys
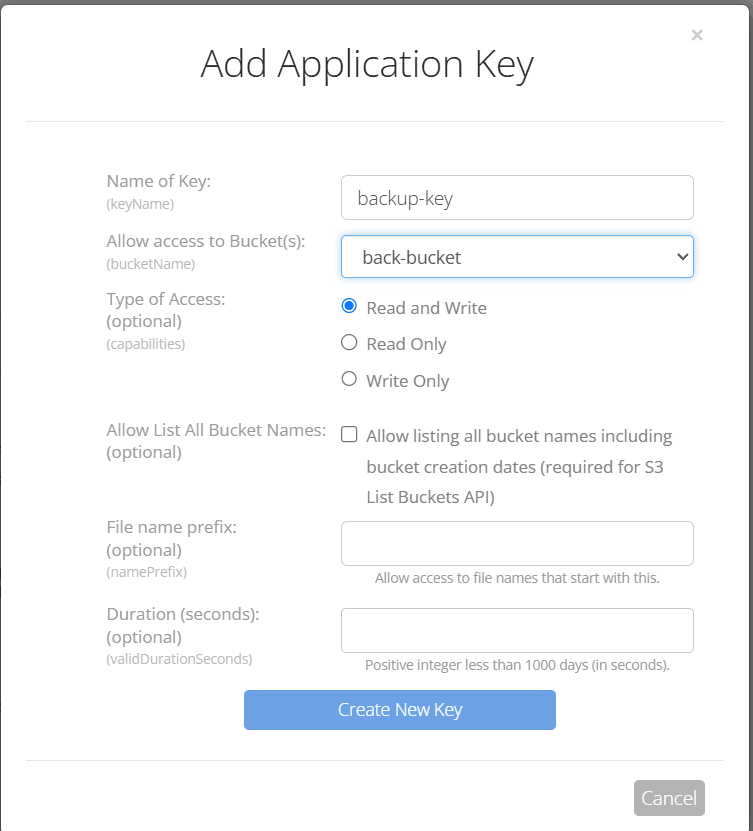
- Click Add a New Application Key, and enter an app key name.
- Choose the appropriate bucket you want to give access to.
- Select your access type (Read and Write is required here for backups to work from Aquanode's Console).
- Click Create New Key.
- Note the resulting
keyIDandapplicationKeyvalues.
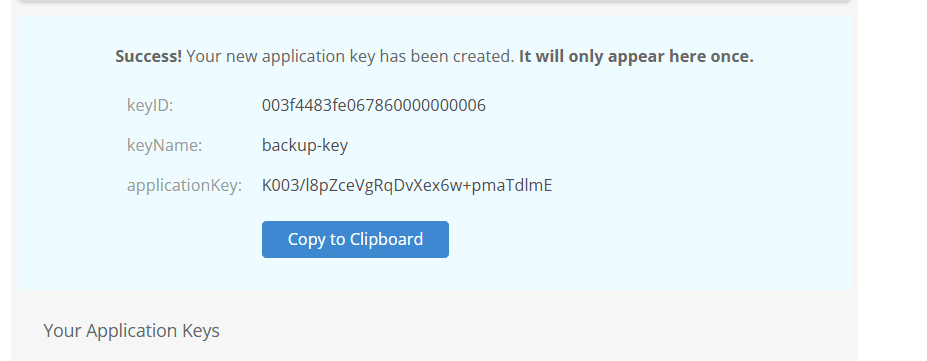
Hurray we got the keys!
We already got:
EndPoint: s3.eu-central-003.backblazeb2.com
Region: eu-central-003
Bucket Name (that we set): back-bucket