Running a VM
Virtual machines on Aquanode give you complete control over your GPU computing environment. Unlike managed services, VMs provide root access, custom configurations, and the flexibility to install any software you need.
When to use VMs
Choose VMs when you need:
- Full control over the operating system
- Custom software installations and configurations
- Direct GPU access for specialized workloads
- Long-running processes or services
- Development environments with specific requirements
Consider alternatives when:
- You want a ready-to-run AI environment → deploy a ComfyUI or Torch + Jupyter template instead of a plain VM
VM Types Available
| VM Type | Best For | GPU Access | Root Access |
|---|---|---|---|
| Pre-Configured VM | Development, training, custom setups | ✅ Direct | ✅ Full |
| Jupyter VM | Data science, experimentation | ✅ Direct | ✅ Full |
| Docker VM | Containerized workloads | ✅ Direct | ✅ Full |
Choose your GPU and configuration
Start by selecting the right hardware for your workload:
-
Go to Marketplace
-
Select Virtual Machine category
-
Choose your GPU type:
For AI Inference:
- RTX 4090 - Cost-effective, excellent for most models
- RTX 3090 - Budget-friendly option for smaller models
For Training & Heavy Workloads:
- A100 (40GB/80GB) - Industry standard for ML training
- H100 - Cutting-edge performance for large models
- V100 - Proven performance for research workloads
-
Configure your resources:
- RAM: 16GB - 768GB (depending on GPU)
- vCPU: 4 - 96 cores
- Storage: 50GB - 2TB NVMe SSD
Set up access credentials
Configure secure access to your VM.
SSH Keys
Manage your SSH keys from the SSH Keys page. You can add multiple keys and see which instances each key is attached to.
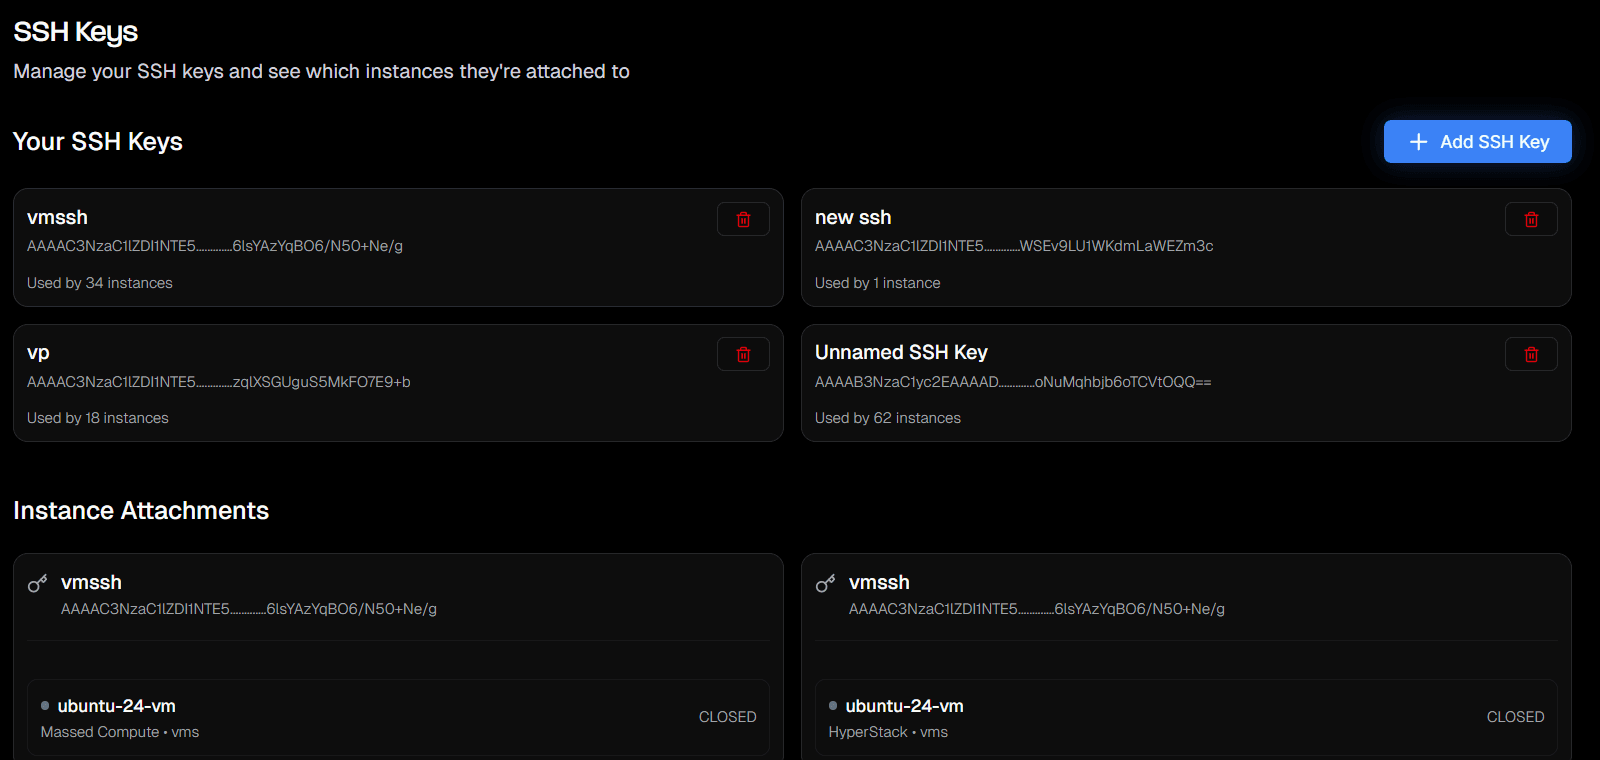
- Go to SSH Keys in your account settings and click + Add SSH Key
- Paste your public key - generate one locally if needed:
ssh-keygen -t rsa -b 4096 -C "your-email@example.com" cat ~/.ssh/id_rsa.pub - Give the key a name and save it
- Select the saved key when deploying a VM
Security Best Practice: Always use SSH keys instead of passwords for better security and convenience.
Deploy your VM
Launch your virtual machine:
-
Review your configuration:
- GPU type and provider
- Resource allocation
- Access credentials
- Estimated cost per hour
-
Optional: Set deployment settings:
- Auto-shutdown: Automatically stop VM after inactivity
- Startup script: Select a saved startup script to run on boot
- Environment variables: Set custom variables
-
Click Deploy VM
Your VM will be provisioned and ready in 1-3 minutes.
Connect to your VM
Once your VM is running, connect using your preferred method:
SSH Connection (Command Line)
- Find your VM's connection details in Deployments
- Copy the SSH command provided:
ssh -i ~/.ssh/id_rsa user@[VM-IP-ADDRESS] - Accept the host key when prompted
VS Code Remote SSH
- Install the Remote-SSH extension in VS Code
- Add your VM to SSH config:
Host aquanode-vm HostName [VM-IP-ADDRESS] User user IdentityFile ~/.ssh/id_rsa - Connect via Command Palette: Remote-SSH: Connect to Host
Jupyter Access (if enabled)
- Find the Jupyter URL in your deployment details
- Access via browser:
https://[VM-IP]:8888 - Use the provided token or password
Verify GPU access
Confirm your GPU is available and working:
# Check GPU status
nvidia-smi

# Verify CUDA installation
nvcc --version

# Test PyTorch GPU access (if installed)
python -c "import torch; print(torch.cuda.is_available())"

# Test TensorFlow GPU access (if installed)
python -c "import tensorflow as tf; print(tf.config.list_physical_devices('GPU'))"
Install your software
Your VM comes with a base system. Install additional software as needed:
Python & AI Libraries
# Update system
sudo apt update && sudo apt upgrade -y

# Install Python packages
pip install torch torchvision torchaudio --index-url https://download.pytorch.org/whl/cu118
pip install tensorflow transformers datasets accelerate

# For Jupyter
pip install jupyter jupyterlab
jupyter lab --ip=0.0.0.0 --allow-root
Docker Setup
# Docker is pre-installed on Docker VMs
docker run --gpus all nvidia/cuda:11.8-base-ubuntu20.04 nvidia-smi
Development Tools
# Git and development essentials
sudo apt install git vim tmux htop -y

# Node.js and npm
curl -fsSL https://deb.nodesource.com/setup_18.x | sudo -E bash -
sudo apt-get install -y nodejs
Managing your VM
Startup Scripts
Startup scripts let you automate workload initialization - install packages, clone repos, or configure your environment automatically every time a VM boots.
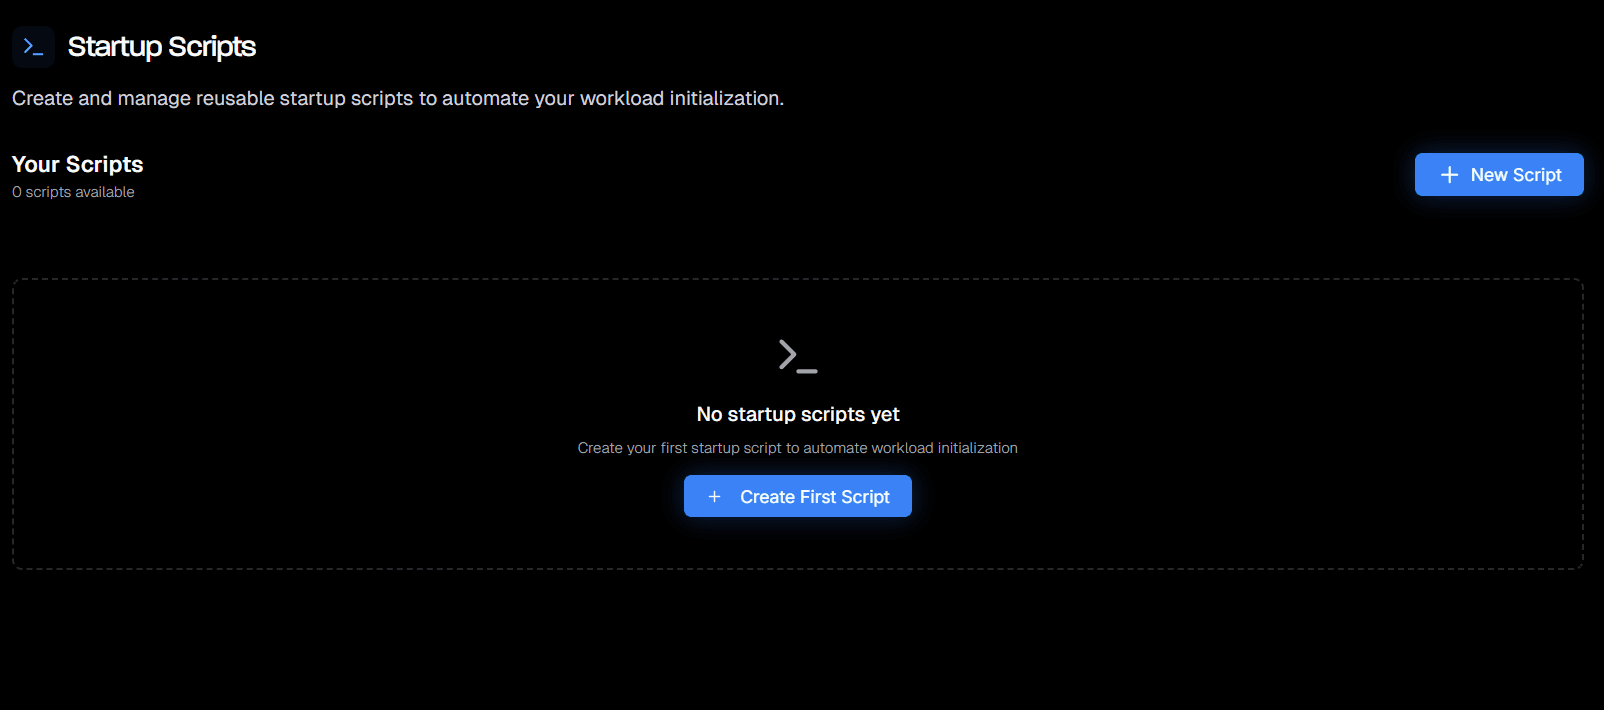
- Go to Startup Scripts in your account settings
- Click + New Script (or Create First Script if you have none yet)
- Write your shell script, give it a name, and save it
- Select the script during VM deployment under Startup script
The script runs as root on first boot, so you can use it to:
- Install system packages (
apt install,pip install) - Clone and set up your codebase
- Configure environment variables or services
- Start background processes
Monitoring resources
Track your VM performance through the console:
- GPU Utilization: Monitor GPU memory and compute usage
- System Resources: Track CPU, RAM, and storage usage
- Network Activity: Monitor inbound/outbound traffic
- Costs: Real-time billing and usage estimates
VM lifecycle management
Start/Stop VMs:
- Stop: Preserves your data and configuration, stops billing for compute
- Start: Resume a stopped VM with all data intact
- Restart: Reboot your VM (useful for applying system updates)
Snapshots (Coming Soon):
- Save VM state for backup or cloning
- Create templates from configured VMs
Storage management
Persistent Storage:
- Your VM's storage persists when stopped
- Data survives VM restarts and stops
- Automatically backed up daily
Additional Storage:
- Mount additional volumes for large datasets
- Attach shared storage accessible across multiple VMs
Best practices
Security
- Keep your SSH keys secure and rotate them regularly
- Use strong passwords if using password authentication
- Keep your VM updated with security patches
- Use firewalls to restrict access to necessary ports only
Performance
- Choose the right GPU for your workload
- Monitor resource usage to optimize costs
- Use appropriate RAM allocation for your models
- Consider using spot instances for cost savings
Cost optimization
- Stop VMs when not actively using them
- Use auto-shutdown to prevent forgotten VMs from running
- Monitor usage patterns and right-size your resources
- Consider scheduling VMs for batch workloads
Common use cases
Machine Learning Development
# Set up ML environment
pip install jupyter pandas numpy matplotlib seaborn scikit-learn
pip install torch torchvision transformers datasets

# Start Jupyter for development
jupyter lab --ip=0.0.0.0 --port=8888 --allow-root
Model Training
# Clone your training repository
git clone https://github.com/your-username/training-repo.git
cd training-repo

# Install dependencies
pip install -r requirements.txt

# Start training with GPU
python train.py --gpu --batch-size 32
API Server Deployment
# Install FastAPI
pip install fastapi uvicorn

# Run your API server
uvicorn main:app --host 0.0.0.0 --port 8000
Troubleshooting
VM won't start:
- Check your account credits and billing status
- Verify resource limits aren't exceeded
- Contact support if issues persist
Can't connect via SSH:
- Verify SSH key is correctly formatted
- Check if VM is fully booted (wait 2-3 minutes)
- Ensure your network allows SSH connections
GPU not detected:
- Run
nvidia-smito check driver status - Restart the VM if drivers aren't loaded
- Contact support for persistent GPU issues
Poor performance:
- Monitor resource usage in console
- Check if you need more RAM or vCPU
- Verify GPU utilization matches your workload
Ready to deploy your first VM? Head to the Marketplace and get started in minutes.
Torch + Jupyter
Deploy JupyterLab with PyTorch preinstalled as a template on a GPU instance. Aquanode provisions and starts it for you behind a private, password-protected URL.
Startup Scripts
Create reusable startup scripts to automate your VM initialization - install packages, configure your environment, and start services automatically on every boot.